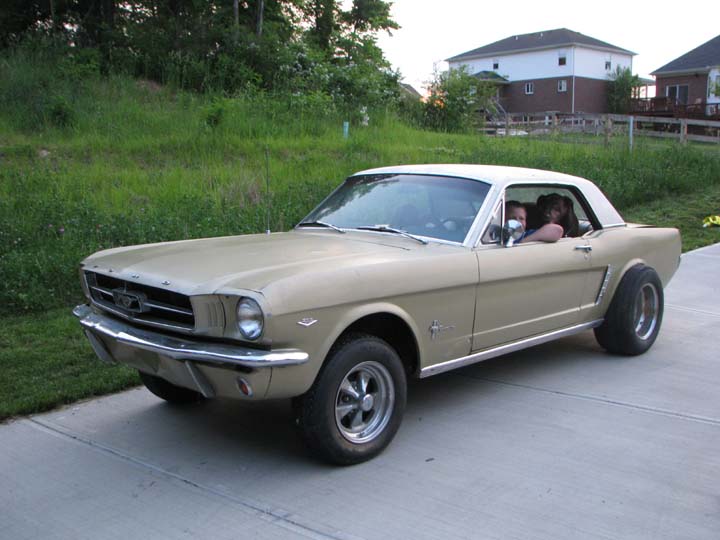
The day we unloaded the car May 2009

The day we unloaded the car May 2009
Kids and dog cruizin the driveway

Sunday, September 11, 2011

Getting close to paint

Well getting close to primer and then base/clear. Ordered the epoxy and 2k primer from a company called SPI. Read a lot of good things, also on it way is by HVLP Deblviss Finishline 3.

Man the garage is a mess.


Hood is done and ready.


Can't remember the last time the fenders were on, got them lined up and ready for paint.


Somebody cobbled up the dash trying to get the ignition out, a little bondo will fix that.


A buddy lent me this industrial fan, explosion proof, made a simple filter box to catch the overspray.


Dash stripped and ready for a new coat of white once the epoxy is on.


Steering column almost ready for paint.


Went over the body one more time with 80grit ready for primer.


Put 8 8t fluorscent lights in the ceiling, and got these all set for the sides of the car so I can see where I am painting.


Bunch of exterior parts sandblased and ready for paint.


Got the emblems on order, once they come in can drill the holes and then the fenders will be ready for primer.




Working on getting the bottom of the trunk area cleaned up before I hit it with the epoxy and single stage paint.


Getting the decklid all cleaned up. Had to use paint stripper and a lot of 80grit DA discs and do you like my makeshift outdoor sand blast area, did the hood as well.


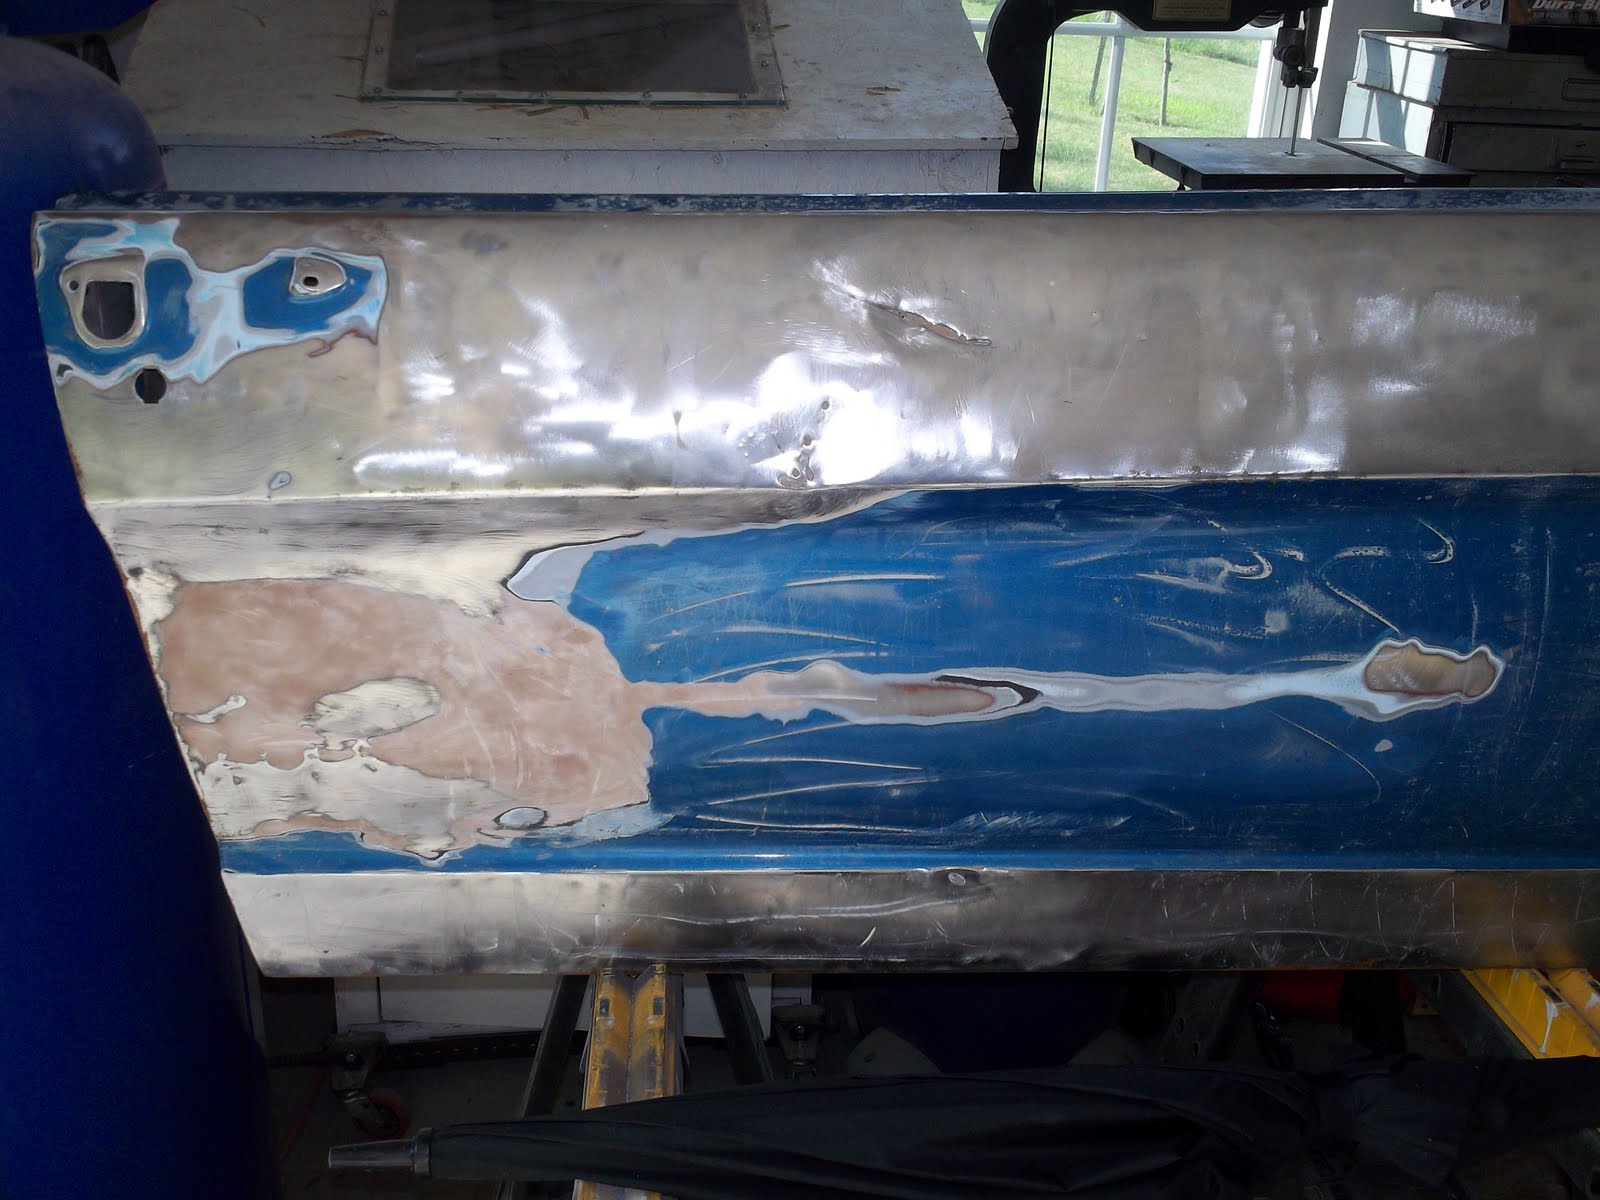
As you can see my original doors were junk, got a set of doors for 50 bucks, only had to do one patch, but had to skin both doors as you can see they had some damage over the years. Skinning the doors was way easier than trying to bump and bondo the originals.


Wednesday, July 20, 2011

Well this is what the inside of the inner door looks like, this is the side I'll clean up and attach a new door skin to.


Below is a pic of a badly beat up door skin, this is the inside.


Here is one door all cleaned up on the inside waiting for a new door skin to arrive.


Man I'm glad I did new door skins, would hate to see all the work only look good for a short period of time once it started rusting. This is gonna look good for a long time.

Saturday, July 16, 2011

Well been busy with life, out of town baseball tournament, vacataion to Florida, now back at it trying to get it painted before winter.

Well start with the bad, the replacement doors which have great inner shells had horrible outer shells, a ton of dents, dings, and bondo. So just ordered a new pair ou outer skins, 95 for the pair and free shipping, they were on sale 25% off. So it will save me a ton of time.


Stripping the decklid, just a minor area to repair, its actually all stripped on the outside.


All the rust I think is finally gone, took forever but all the pinholes, craters, etc are all gone and have a rust protact coating on them. Looks good.


And finally a little filler to take out the imperfections. Starting to finally take shape.


Wednesday, May 4, 2011

Another pic...or actually a better pic of the subframe connectors.


Look at that pretty rear axle...


Stripping paint...sucks..Almost done with the body. The off to the doors, fenders, decklid, and trunk..Will it ever end?


Monday, March 21, 2011

On the ground for the first time in 21 months...

Camber is just a litte off..


I threw the bad tires on the right side.

The neighbors see the left side..figured show them what the good side looks like.


Rear axle with all new bearings, seals, painted all purdy..till it hits the road...


All new rear suspension, springs, shocks, shackles, bolts, looking sweet.


All new front suspension installed, controls arms, springs, sway bar links, shocks, outer control tower covers, tire rods, you name it it's new. Granada front spindles installed for disc brake set up.


Sunday, January 2, 2011

Sorry been a while since I posted. I have been making progress during the winder months.

Here is a new addition to the shop..a compressor that can keep up.

I just ordered a 5000w electic heater..tired of freezing my ass off.


Made some custom subframe connectors. Found a webside Daze Mustang and had some nice instructions on how to make them. Turned out nice and got them welded in.


Made up some lower control arm boxing plates to strengthen them up. Was a easy project to make and fun to do some fab work.


Got the floor pans all cleaned up finally from all the undercoating and painted. Need to do a little touch up.


Got the rear axle all cleaned up and painted. Just need to figure out what gear to put in it. I'm thinking a 3.40.